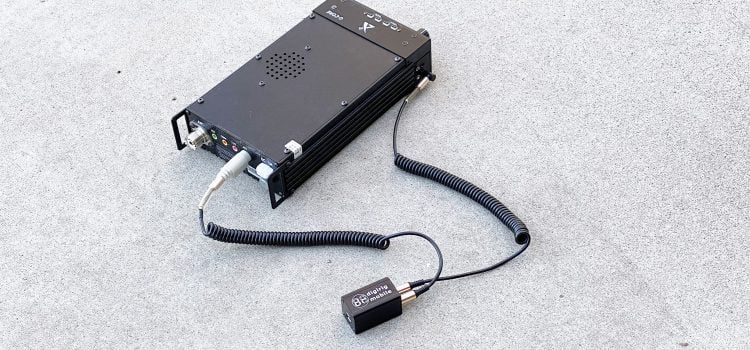
⚠ Note: the cable described in this post is for the older revision of the interface (1.5 or earlier). Since revision 1.6 Digirig uses TRRS connector allowing a PTT line in the audio cable. For the new cable schematic, please check the images in the product page.
Serial Cable
Rocking black aluminum body and white labels Digirig shares some of its rugged (or tAcTiCooL as my kids would say) aesthetics with G90. Not coincidentally it also shares the pinout for the serial CAT connector – all you’ll need is a standard male-to-male 3.5mm stereo cord like the type offered in the store. The cable is connected on the left side of the head unit.

Audio Cable
Things get a bit more involving with the audio cable. The signals come from Mini-Din8 ACC connector in the back of the main unit. Here is the pinout of the male connector with pins of interest highlighted and corresponding 3.5mm jack on Digirig side:

The options for the cord build are:
- use an existing headphones/stereo cable and attach Mini-Din 8 connector on one end (featured image above)
- use a cable that already has Mini-Din 8 molded on it and solder 3.5mm jack on the other end (build below)
If you happen to have Xiegu CE-19 breakout board, it comes with Mini Din 8 cable and 3.5mm jacks that can be used for the build. The alternative is salvaging parts from a commonly available printer cable that uses the same connector type (e.g. this one or this one).
Build Steps
- Cut cable to size – shorter the better, but it should be practical to use.
- Remove outer sleeve and expose conductors for all wires.
- Using the continuity tester determine which wire colors connected to which pins. There doesn’t seem to be any coloring convention in these cables so don’t make any assumptions without testing.
- Referring to pinout chart determine what color wires correspond to what signals of interest. Keep in mind that the pins are mirrored between the rig side (female) and cable side (male) pinout.
- Match signal name (and corresponding color wire) to the connector pins or wire colors on the other side.
- Solder and shrink wrap wires. Don’t forget to put the connector housing and shrink-tubes around the wire before you begin soldering. A friend told me that this is a common mistake.
- Using continuity tester confirm that all connections are where they should be.
- Go have some QSOs.
Here is the gallery for my recent courtesy cable build for a fellow ham:
Please comment below if you have any questions or encountered difficulties in your cable build.
Pre-built cables
I encourage DIY effort but for those unable or unwilling there are pre-built Xiegu G90 and X5105 cables available in the store.


